Are you new to underwater photography and want to be a better underwater photographer? Here are some of the Best Tips on Underwater photography I have learned and still learning as I scuba dive and take my camera underwater.
Handling an underwater camera while scuba diving can be a very challenging experience. You will discover that taking photos on land versus taking photos underwater requires a different set of skills and techniques altogether.
There are so many factors that come into play when you are capturing underwater photos or underwater videos. For one thing, you have to think about how water and light affect your shot while simultaneously thinking about how not to die!
To lessen that burden, I’ve put together this list of underwater photography tips. It also contains the best practices you can follow as a beginner underwater photographer.
This post will not teach you how you should set your camera aperture, shutter speed or ISO setting. Rather I will share with you how to take better pictures underwater. Most of which are based on my experiences.
I’ve also researched additional tips on underwater photography which you might find useful as you embark on this new and exciting journey. So continue reading if you want to get some practical tips and tricks while doing some scuba diving photography.
Pre-Dive Best Practices and Tips on Underwater Photography
Choosing the right underwater camera for you
Photography is nothing without having the right tools to create. If you want to produce art or tell a story, then you need the right equipment to make what you envision come to life. Here are tips for underwater photographers when it comes to their gears and gadgets.
- Think long term and invest in a good camera and underwater housing.
- Do comprehensive research before choosing the best scuba diving camera for you.
- Get insurance if you can especially when you are spending thousands of dollars for your compact, mirrorless or dSLR underwater camera set up
- Read the manual for all the gear you purchase. It will contain valuable information on proper use and maintenance.
- Learn how to use the different features and settings of your underwater camera.
- Consider buying 2nd hand camera gear if you’re on a budget. There are dedicated websites and Facebook groups where you can find photographers selling their equipment.
- Remember that the best camera is the one in your hand. You do not need the most expensive or latest underwater camera to capture the best underwater shots.
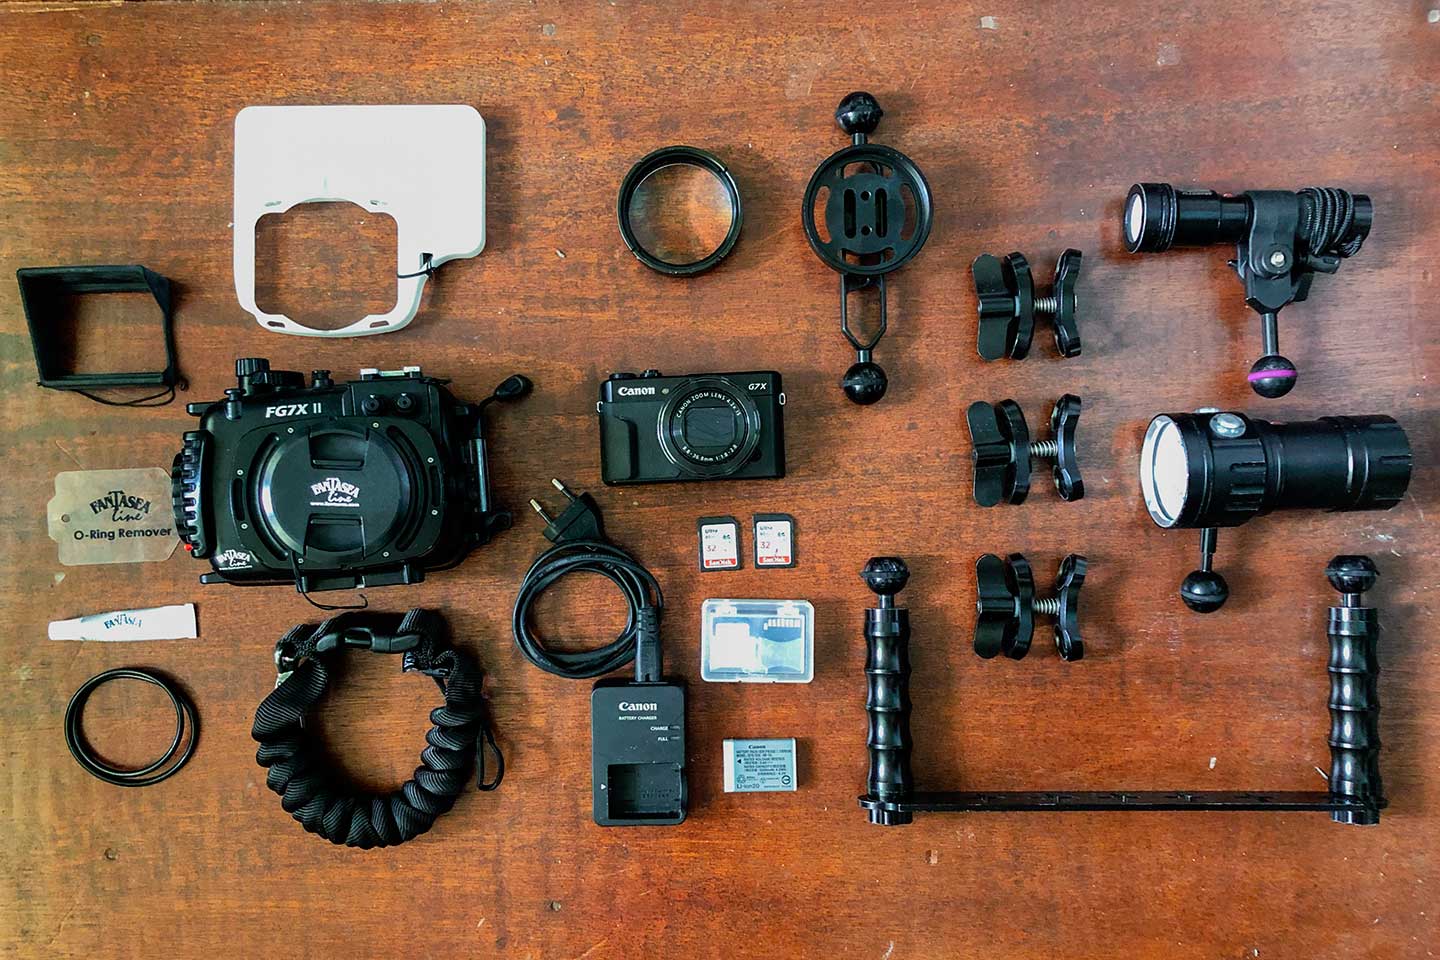
Must Read: Underwater Camera Recommendations for Beginners
Learn how to take underwater photos while on land
Underwater Photography starts while you are on land. Before you start shooting underwater, you must first understand the fundamentals of photography. Technology has made it easy to learn photography so there really is no excuse if you’re new to underwater photography.
- Read underwater photography books. My personal favorite is Underwater Photography Masterclass by Alex Mustard
- Take underwater photography lessons. PADI has an Underwater Photography Certification but you can also find professional photographers giving their own underwater photography workshops.
- Watch webinars and Youtube tutorials by underwater photographers and videographers. They give lots of advice and tips! I like watching Brent Durand on Youtube.
- Practice shooting on land with your camera inside the underwater housing. This will help you familiarize yourself with your setup.
- Research the best way to do certain shots underwater. Some underwater critters and environments may require a different way of shooting.
- Find an underwater photography guru that can inspire you. You can find a lot of ocean influencers on Instagram and Facebook. Highly recommend you check out my post on 15 Amazing Underwater Photographers You Should Follow on Instagram.
- Developing your technical skills and creativity takes practice! Practice! Practice! So take photos even when you are not scuba diving. If you need help with the basics, check out this comprehensive photography fundamentals course on Fiverr.
Underwater Photography Tips Before You Go Scuba Diving
While you might be excited to get in the water already and start shooting, the things you do leading up to the dive itself is equally important. Preparation is key to success! In fact, your preparedness and mindset before the dive can make or break your photo dive. Here are some more tips for scuba diving photography.
- Choose a dive shop that specializes in underwater photography. Ask for tips and advice on what to bring and what to expect during dives so you bring the right gear. Will the dives be more for wide-angle or macro photography?
- Plan your dive and set objectives. While it can be exciting to just “wing it”, diving with an end goal can help improve your skills as a photographer. For instance, a dive can all about shooting tiny critters so you can work on your macro underwater photography skills.
- Have a critter list. It is very common for underwater photographers to have a list of marine creatures they want to see. It’s a great motivator and challenge for underwater photographers to find all of them.
- Hire a spotter. Having a dedicated dive guide all to yourself will save you time and money from trying to look for subjects to shoot. The spotters will know where to find the creatures in their local area.
- Do not rush setting up your dive camera. Set up your underwater camera in a stress-free environment where you complete the task on hand without distractions.
- Double or even triple check the locks and seals on your underwater housing
- Do a test shot before entering the water. Believe it or not, some photographers have forgotten to put a memory card, battery, or remove their lens cap before getting in the water.

Underwater Photography Tips
Diving Skills Development
Underwater photography requires skills and knowledge in both scuba diving AND photography! If you want to improve your craft, then you must first work on your scuba diving. Here are some tips on how to take underwater photos in conjunction with proper diving.
- Remember the number one rule of scuba diving to keep breathing. A lot of UW photographers tend to hold their breath to get a better shot or avoid spooking their subjects. Never hold your breath for your own safety.
- Make sure you’ve mastered using your scuba diving equipment and perfected your buoyancy before handling a camera.
- Learn different scuba diving finning techniques to help you maneuver underwater while handling your camera gear.
- Don’t forget to be a great dive buddy first, underwater photographer second.
- Never stop learning or upgrading your scuba diving skills. For instance, completing a rescue diver course can help you become a more aware and safe diver. Additional dive skills will build your confidence underwater and may come in handy while doing underwater photography.
- Practice proper underwater photography etiquette at all times.
- Find a great dive buddy who understands the joy of underwater photography.
How to make the most of your underwater camera
One of the biggest concerns of new underwater photographers is what setting to use in their dive camera. Here are some underwater photography tips for beginners who need help with their camera settings for the dive.
- Set your camera setting to the highest resolution. It is easier to resize a big file to a smaller size but you can never make a low-resolution file bigger without compromising quality.
- If your camera allows you to take in RAW, shoot in that format. This is better when you post-process via photo editing software.
- Learn to use manual or aperture priority mode if your underwater camera permits it.
- The reason why your photos look too blue or green is that light particles are being filtered by the water. If you want to see truer colors underwater, introduce light by using strobes or video lights.
- If you are not able to afford external strobes just yet, learn to use your camera’s custom white balance. Remember to change your custom white setting every 3-5 meters (10-15 feet). Natural light and therefore colors change the deeper or more shallow you go so you need to adjust accordingly.
- Use a spot focus mode to help you get sharper images.
- Set your ISO to the lowest setting if possible to avoid grainy photos.
- If your underwater photo is not sharp, check your shutter speed. A 1/125th minimal speed is usually needed for fast-moving ocean creatures.
- Avoid using the built-in flash to avoid backscatter. If you really have to use the flash, your underwater housing should have a diffuser to soften the light and reduce the backscatter.
- Take time to review your underwater photos and modify your settings accordingly.
How to take underwater photos using natural light
Most new underwater photographers start of without using strobes or artificial light, Here are some underwater photography tips when using natural light, aka the sun.
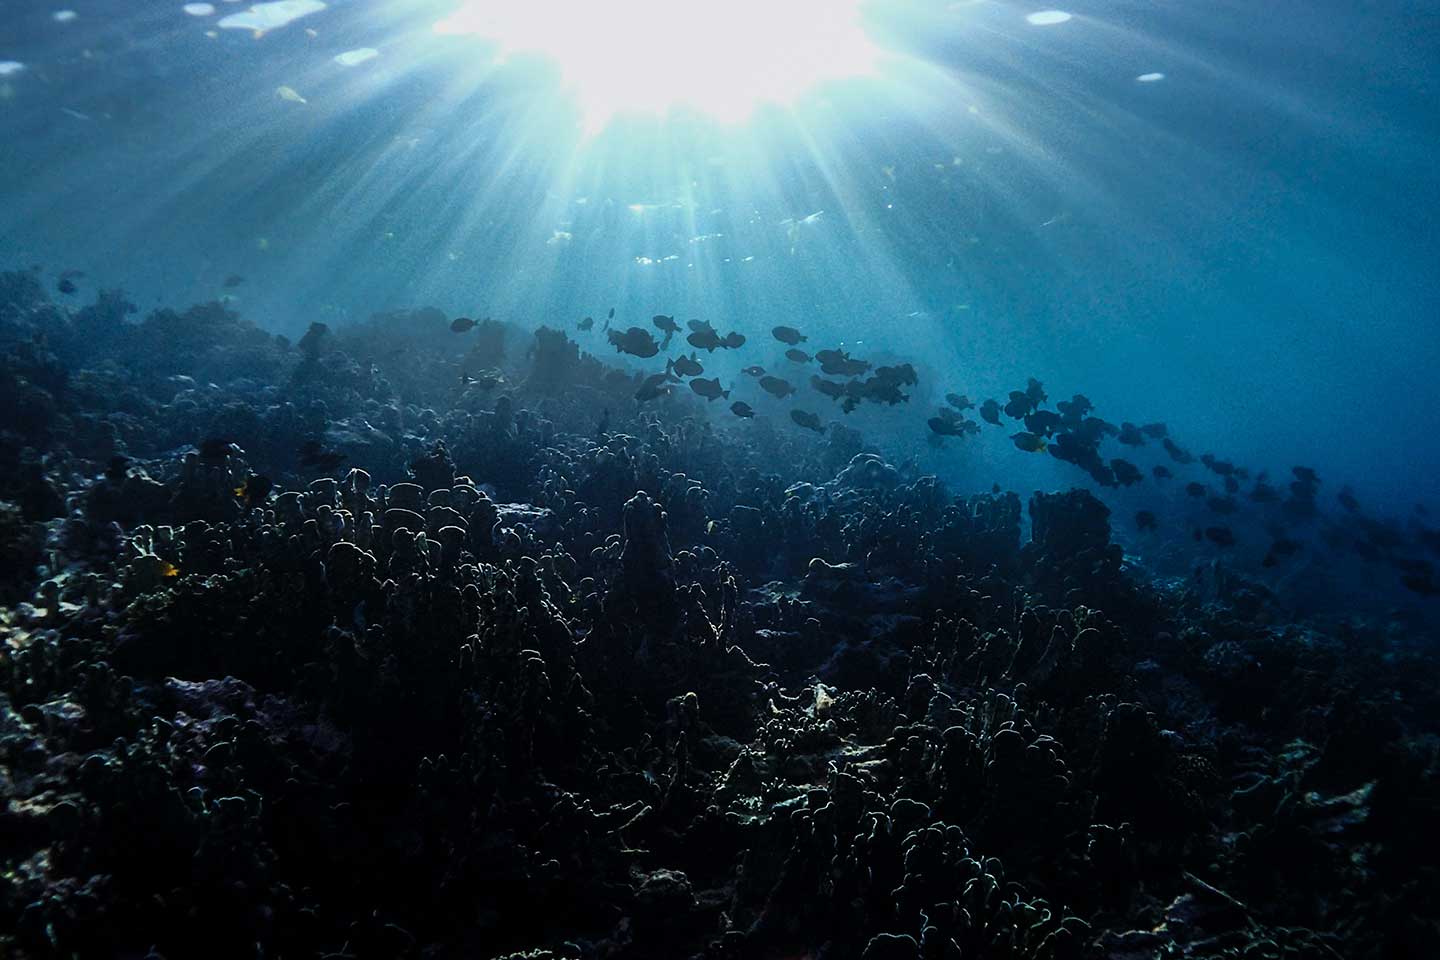
- Shallow waters mean more ambient light. Try to shoot in 3 to 7 meters of water.
- Shoot when the sun is high. Noontime when the sun is directly above will have the most optimal amount of light entering the water.
- Pay attention to where the sun is. The sun should be behind you to light the subjects evenly in front of you.
- Play around with silhouettes by shooting against the sunlight.
- The weather will affect the result of your shot. Overcast, cloudy skies or rainy weather can make your photos darker. You will need to adjust to compensate for the lack of natural light.
How to take pictures underwater of marine life
One of the main reasons why underwater photographers love underwater photography is because of marine life. Being able to photograph or film sea creatures in their natural element and most vulnerable states is a challenging yet rewarding part of underwater photography. Following these wildlife photography tips can help you create extraordinary photographs.
Here are some techniques on how to take underwater photos of the amazing life underwater.
- Move slowly towards your subject to avoid spooking them.
- Avoid approaching them head-on. It is usually best to approach marine life from their side.
- Do not chase marine life. Any sea creature will outswim you.
- Take a variety of shots from different angles. There is no need to take 10 shots of the same fish from the same perspective.
- Do not harass marine life. Harassment can come in many forms so be aware of your actions towards the sea creature you are photographing.
- Be conscious of how much time you are spending on your subject. You might end up stressing your subject and giving them unwanted attention.
- If your subjects are sensitive to light or flash, do a test shot on something else first, so you do not agitate the critter.
- Never touch or manipulate your subjects to pose a certain way.
- Never destroy the corals. You have no reason to prop your camera or yourself on the corals just to get a better shot.
- Capture the personalities and behavior of your subject for a more interesting shot.
- Focus on the eyes, rhinophores (nudibranch), or any distinct features the creature is known for.
- Get close then get even closer. Show details, colors, patterns, and textures.
- Shoot at the level of your subject rather than shooting from above.
- Frame your shot so you are not cutting out fish tails or body parts.
- Take photos of fish faces rather than fish butts.
- Learn to compose your shot using the “Rule of Thirds” for a more interesting photo of your critter.
- Pay attention to what is in the foreground or background of your subject. Be conscious of how it affects your photos and change your angles to eliminate distractions.
- Remember to shoot in both landscape and portrait orientations.
- A lot of the most interesting subjects underwater have symbiotic relationships with other species. If you spot one species most likely its partner is close by. Take mental notes of these cool pairings so you know where to look for them.
- If you need to stabilize yourself, try to anchor yourself on a rocky substrate. Use two fingers and minimize any other contact.
- There are no boring dives, only bored photographers. There is always something interesting underwater. It’s up to you to find them.
- Be patient.
How to take underwater photos of divers
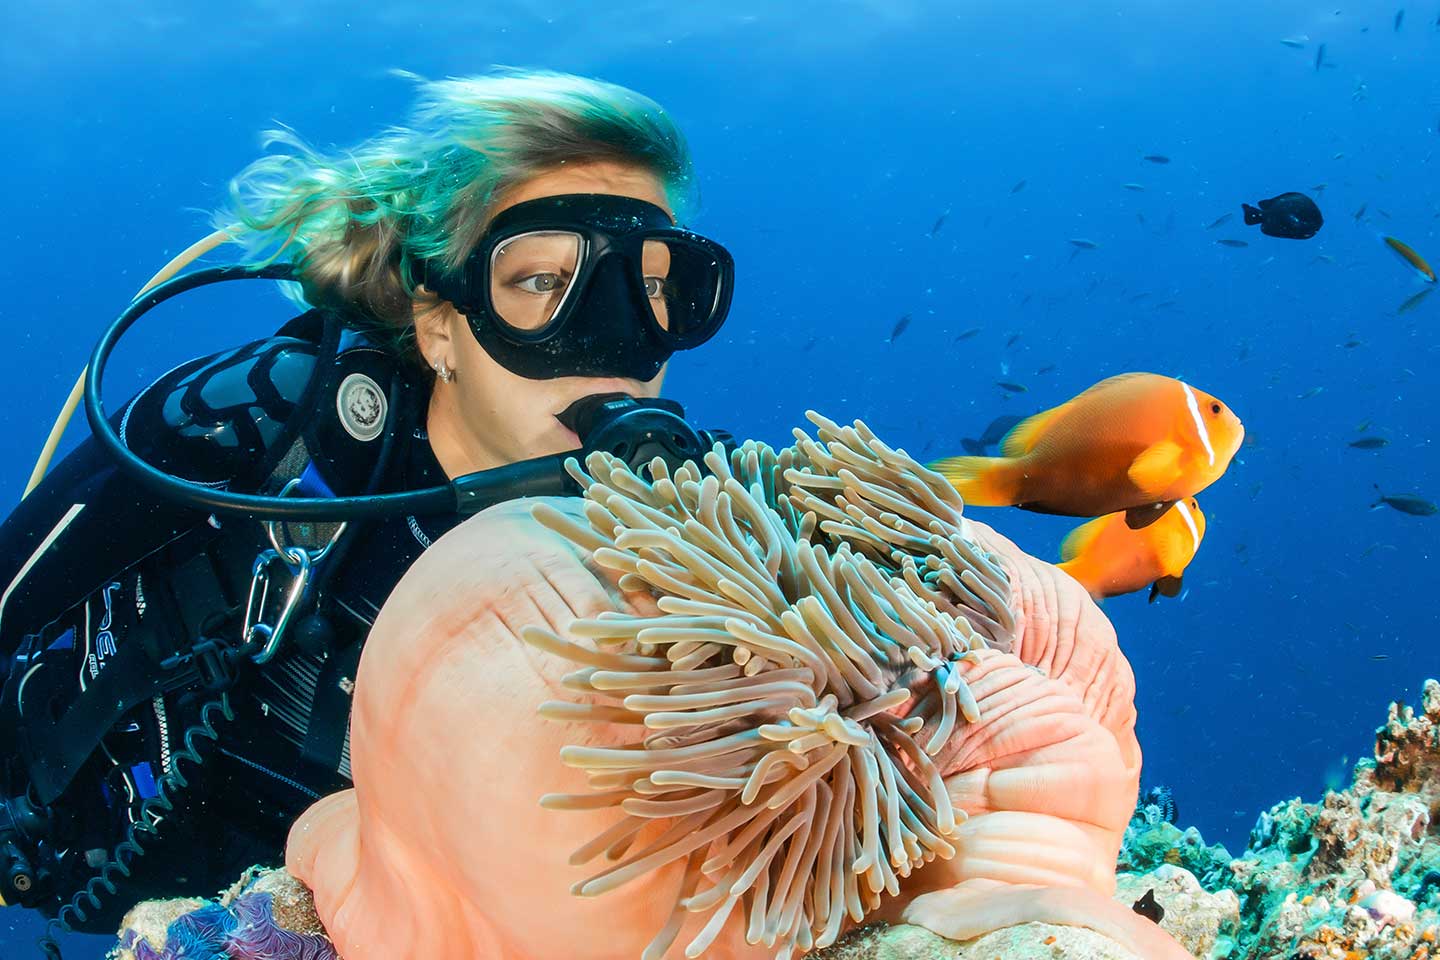
Adding human subjects to your underwater photograph adds another dimension to the story you are trying to tell. Here are some underwater photography tips when dealing with divers or underwater models.
- Before the dive, plan with your dive buddy / model how you would like to photograph them underwater. Review hand signals that will help you communicate underwater.
- Observe other divers’ movements and behavior underwater. Calm and relaxed divers are great models for a more natural underwater photo.
- Use divers to give the viewers an idea of how big or small the main subject or underwater attraction is.
- Pay attention to a diver’s trim or form when taking their photos. Neat arms and long straight legs look more elegant in underwater photos.
- Remind your models to tuck in any straps or gear that is dangling.
- If there is a subject on the foreground, ask your model to look at the subject to direct the viewers to the main attraction.
- For close-up shots, maintain eye contact with the camera.
- Show your shot to your model to give immediate feedback. This is a good way to show your appreciation or to help direct them into modifying their pose or expression.
GoPro underwater photography tips
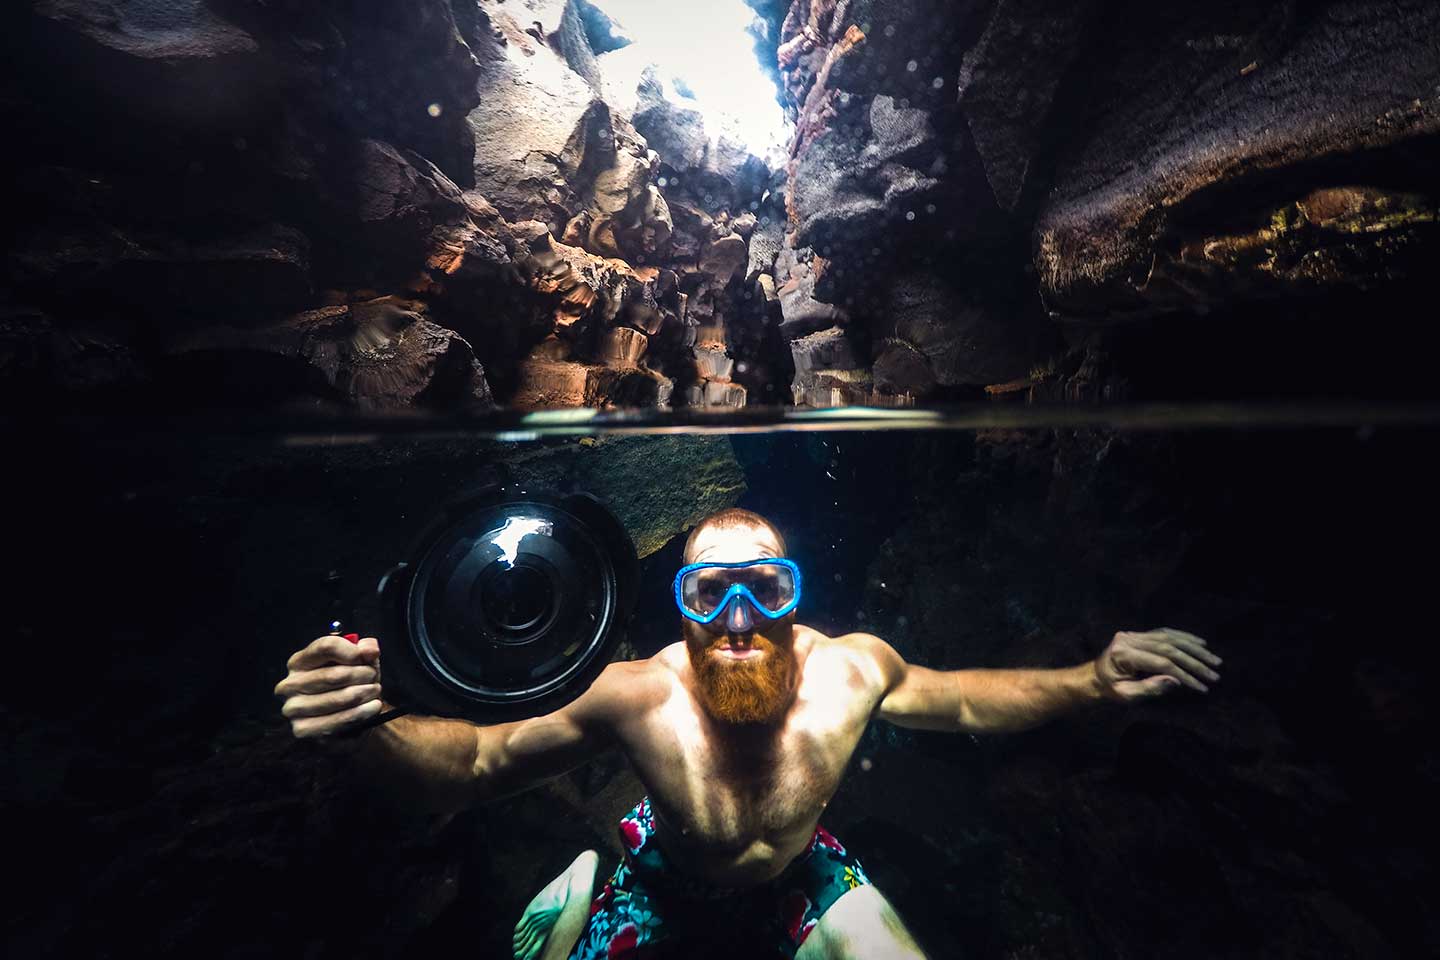
One of the most common underwater cameras divers love to use is a GoPro Hero. Here are some GoPro underwater photography tips.
- The GoPro’s minimum focus distance is 30cm (1 foot). Keep this in mind when framing your shots.
- Because of its compact body, stabilization on the GoPro can be an issue and can produce blurry photos or shaky videos. Mount your GoPro to a pole or a GoPro underwater tray so it is easier to handle underwater.
- Use red filters or video lights to help bring the colors back into your shots especially in deeper water.
- Get a dome port and experiment with over and under shots.
- Take advantage of the GoPro’s wide-angle view and take selfies for fun!
Post-Dive Tips on Underwater Photography
The work of an underwater photographer does not end when the dive ends. A lot of work goes into making a great photo into a spectacular one. Here are some underwater photography tips for after the dive.
- Back up your photos at the end of each day or use multiple memory cards just in case your camera floods.
- Post-process your photos using software like Adobe Photoshop or Lightroom. Use underwater Lightroom presets. This will give your photos the extra oomph.
- While editing photos are encouraged, remember to shoot it right the first time. Don’t rely on editing to fix a badly taken photo. Also, never edit to the extent that you end up deceiving your audience.
- Find your signature look. Editing your photos a certain way can help establish your brand as a photographer.
- Be selective about what you share on social media or online. Don’t post all your shots. Share only your best works on your photography website.
- Join underwater photography contests. These will challenge you to get an award-winning shot each time and help you to strive even better.
- Go through your “bad” photos and figure out what went wrong and what you should practice on your next dive. Learn from your mistakes.
Related Articles: 5 Underwater Photography Mistakes You can Easily Avoid as a Beginner
Love this post? Don’t forget to pin this or share this to your dive buddy who needs some help with their underwater photography!
On a final note, I hope these little nuggets of advice will help you become a better underwater photographer. Remember that these are just tips for underwater photography and are not hard rules.
Take what you need and what works for you. Practice. Experiment. And most importantly, have fun!
If you wish to earn from your photography, do check out my post on 10 Ways You Can Make Money As An Underwater Photographer.
Did you learn a new underwater photography trick from this article? Do you have tips on underwater photography that I failed to mention? Comment below your best tip on underwater photography for beginners!
Great tips. I’ll have to give the spot meter over the center or wide next time. I’m currently trying to get my lighting correct.
What set-up do you use? I’m currently just using video lights! My next goal is to get strobes and learn to use those. 😀